Shimming The Hinges Of Worn Shears
Some of the techniques
suggested here are for people who have the appropriate technical skills
to perform tasks like this. Unless you are confident that you have the
technical skills to perform tasks of this type, you risk wrecking a
rare pair of shears. None of the techniques are rocket science and
often a person who is handy and used to making or repairing things by
hand can succeed in repairing an antique pair of shears but it is not a
task for hobbyists or non technical people.

This image is taken from the 1907
Wiss catalogue and shows two types of shear bolts (the technical term
for the hinge mechanism). The one on the left is a Wiss patent
called a "Simplex Shear Bolt". It has a large round lock nut that has a
set screw to lock the adjustment in place. The type on the right hand
side is the most common and was used in most early 20th century
American made tailors shears.
The Simplex Shear Bolt
With the Wiss Simplex design the
head end of the shear bolt has a cross locating pin that fits the lower
blade hinge hole which is made to accept the two ends of the locating
pin. This prevents the shear bolt from turning. Under normal
circumstances the lock nut is simply adjusted to give the correct
amount of clearance for the hinge but with a worn pair of shears there
may not be enough adjustment left and there are a couple of ways of
solving this problem. At its easiest, you simply make a shim that
spaces the lock nut out far enough to still get some thread adjustment
so you can tighten the hinge to your preference without running out
of travel.
A better solution if you have
access to a small precision lathe, is to place the shear bolt in a 3 jaw
chuck holding it by the outside flange and carefully machine about 1.5
mm (1/16 of an inch) off the protruding shoulder so the lock nut
can be tightened up to the upper blade hinge surface.
Repairing the round lock nut
It is not uncommon for the lock
nut to have been damaged by many years of being overtightened with the
set screw. There is a way of fixing this if you are very careful. Once
you get the lock nut off and remove the set screw (at times a difficult
task) and cleaned any lubricant and dirt off the the lock nut, get a
screwdriver with a good condition blade and place it at the top of the
slot between the two ends of the set screw holes.
VERY carefully spread the slot back open by tapping the screwdriver down into the slot so that the set screw holes again line up properly. While you still have the screwdriver in the slot with it being spread apart, place the lock nut in a vice at 90 degrees to the slot and very carefully crush the lock nut to take the ovality out of the center thread hole.This does two things, it helps to line up the set screw holes properly and it gives you some adjustment of the set screw without the need to over tighten it again. With a Wiss Simplex shear bolt, you do not need to tighten the set screw by much as there is almost no load on the lock nut. Over tighten it and you will stretch it back into the wrong shape again.
WARNING Do not be clumsy or heavy handed when spreading the slot open. If you break the lock nut, you turn your rare shears into scrap metal as spare parts are close to impossible to get.
The
normal type of shear bolt that was used on Wiss, Heinisch and some
other American made brands are harder to set up correctly and were
individually fitted during manufacture
at the factory. Something that is critical, is to mark the way the shear
bolt is fitted into the square hole that locates them. This is critical
because if you rotate the square section and put it back in the wrong
orientation, the main round section of the hinge will no longer be at
90 degrees to the blades and you cannot properly adjust the hinge. Use
a felt tip marker or something similar so you know for sure which is the right
way to re-assemble the hinge mechanism.
Take whatever care is necessary to get the hinge apart. Some come apart easily whilst some have been seriously over tightened and then left for very long periods so they have seized and rusted. Soak the hinge area in WD40 or similar, if they are stubbornly still too tight, try warming them up in the sun then putting them in a freezer to try and break the rust seal. If you can then get the lock nut off and sometimes this must be done with a crude mechanism like multi-grips to get enough leverage, the next task is to get the tapered square section out of the square hole that locates it without damaging the screw thread.
This is important as it will make the re-assembly much easier if the thread is in good condition. To get the main section of the shear bolt out, place something like a piece of flat brass or hardwood over the end of the screw thread and try and positively 'tap' with a hammer. It is important to be very careful here so you don't compress the end of the screw thread. Just bash away at it and you will mangle the thread and will not be able to screw the lock nut back on.
The most common place to use a shim on a normal shear bolt is between the head of the shear bolt and the lower blade hinge face. This will depend on the amount of wear on the two inside blade hinge faces. This is where the adjustment of the shear blades takes place. It is a mistake to think that the lock nut is the main adjustment, it is there to lock the main shear bolt in place and only provide very minor adjustment and only when the rest of the hinge is set up correctly.
If the thread end has much of the square section protruding, it will need to have some of the shoulder removed in a lathe. You can alternatively make shims for the lock nut side that fit around the widest points of the square section so you can get enough travel without having to over tighten the lock nut.
Repairing the lock nut
It
would be very rare that anyone
has an original 2 pin spanner to remove the lock nut. One easy way to
make a spanner is to get a pair of cheap forged bent circlip pliers and
grind the two tiny lugs off. The holes in the lock nut can often be
mangled and the solution is
to carefully file them back to round with a round needle file then use a
narrow end tapered reamer to get the holes fully round and fit the
spanner properly. Ther are other ways depending on what facilities you
have but this is a cheap and successful solution.
The choice
of shimming material is in fact important. Over time many people have
used things like leather, plastic, cardboard and heavy paper but if you
want a metal compatible shim that will last a very long time, the best
choice is sheet brass. You can routinely get 1/4 mm and 1/2 mm (10 and
20 thousands of an inch) and if made accurately will last a very long
time and give you consistent adjustments.
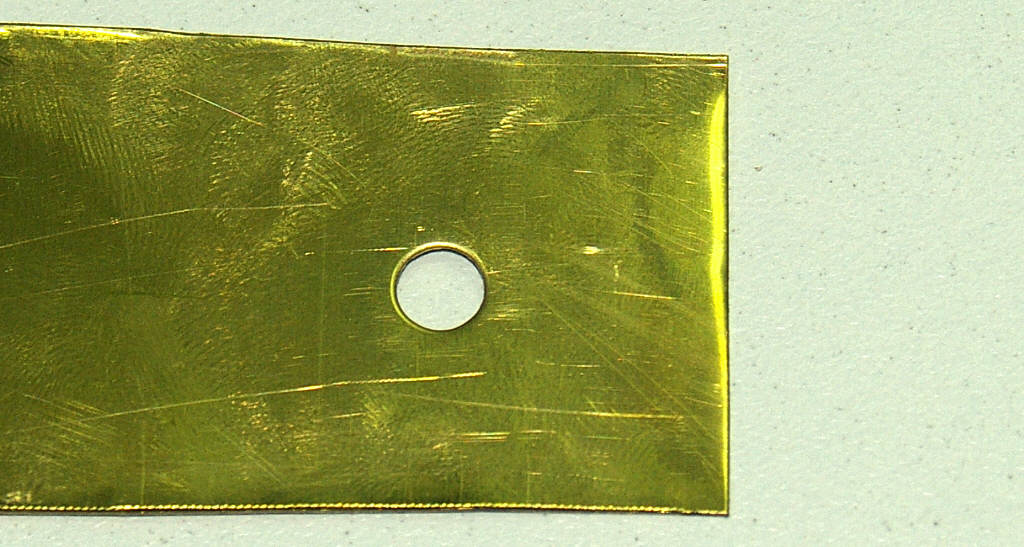
This is the first operation to
make a hole in the sheet brass. This example is done with a hole punch
but drilling the hole carefully will work as well as long as the drill
does not grab and distort the sheet brass. The hole is so you can start
a tapered reamer and enlarge the hole to the size of the shear bold
just behind the outer flange.
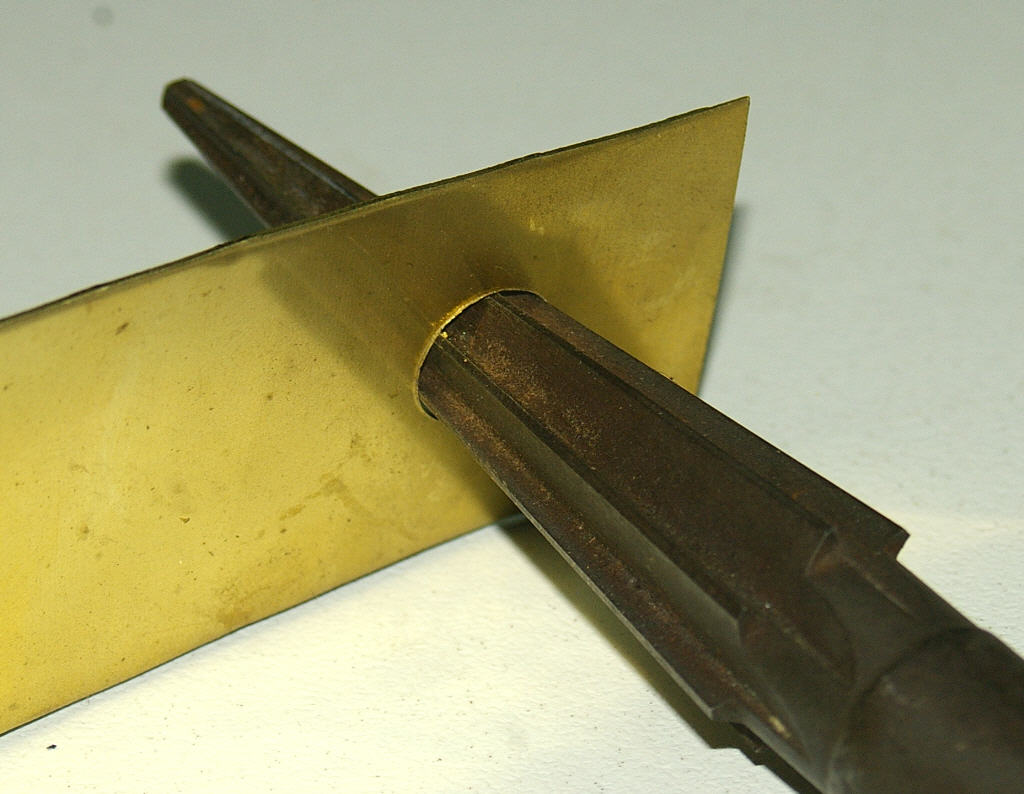
Using
a tapered reamer, enlarge
the hole until it is the size you require. To reduce the level of burr
that comes from using the tapered reamer, alternate from one side to
another of the brass sheet so that you do not end up with a very heavy
burr on one side.
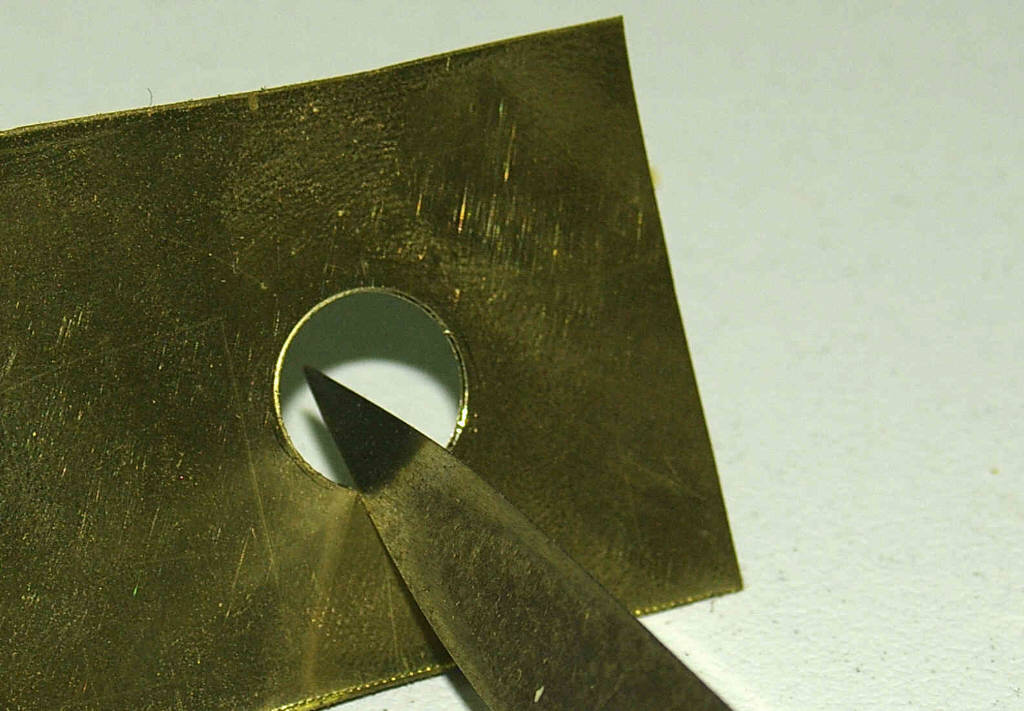
Deburr the hole with something
like a bearing scraper. You can use any technique you like as long as
you completely remove the burr on both side as any burr will interere
with the adjustment of the hinge.

Place the shear bolt onto the newly cut hole so the outer flange is flush with the face of the shim.

Carefully scribe around the
flange of the shear bolt so that you get an accurate circle as a guide
to cut out the diameter of the shim.

Start
trimming the shim square
first then go around the square in an anti clockwise sequence cutting
the corners off at approximately 45 degrees. The reason why you go
around the shim in a consistent manner is to equalise the slight
distortion you get from using tin snips. This helps to keep the shim a
lot flatter which matters when you have it finished as the adjustment
is a lot easier.
Go around the shim again in an
anti-clockwise sequence cutting each corner off so that it looks
something like this. The shim is then close enough to being round to
simply file the rest to shape.
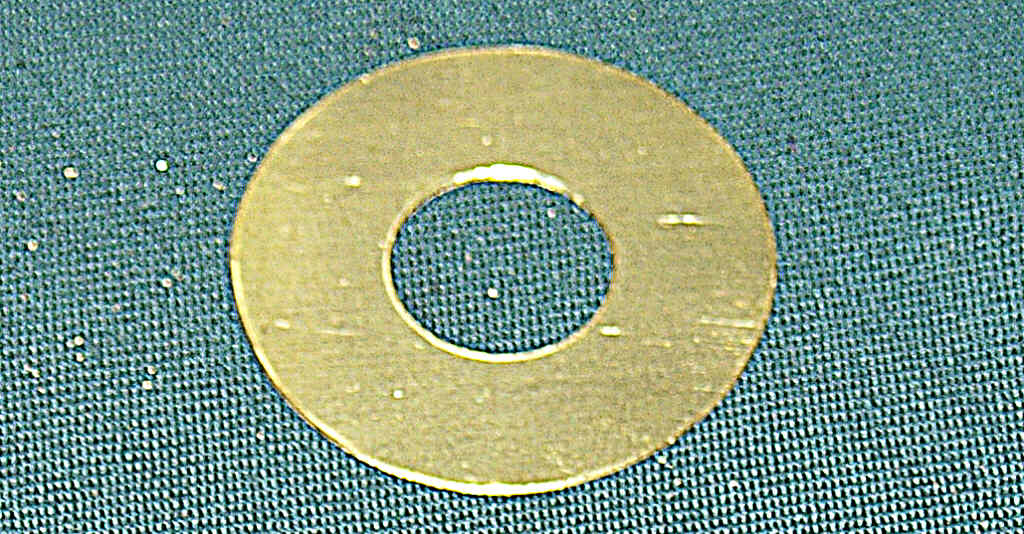
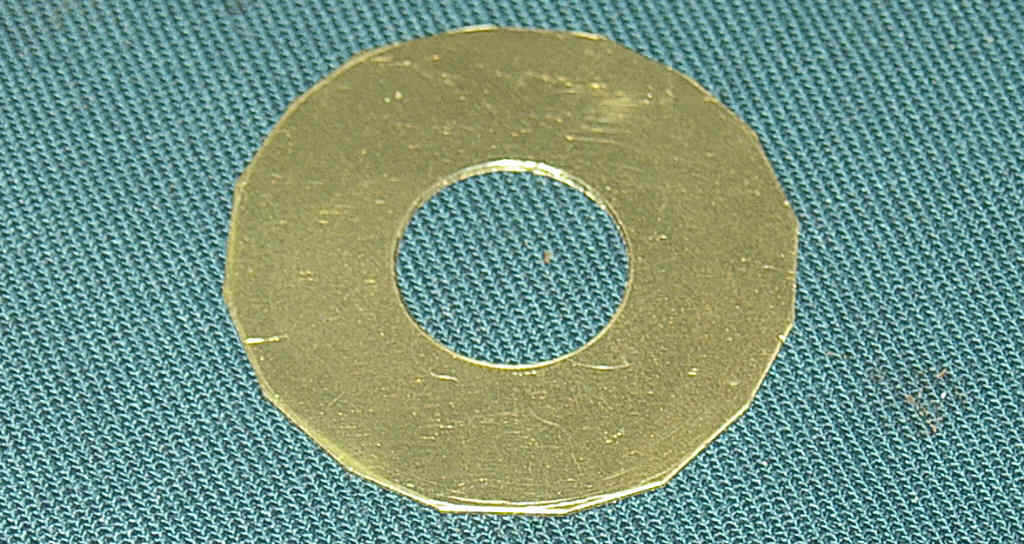
This is basically what your
finished shim will look like, close enough to round, close enough to
flat and all you need to do is deburr the outside edges that you have
filed round so that the shim will fit correctly.