How Antique Shears Were Made

The large drop forge
Forge welding the steel inlay onto the forged iron frame
Hardening And Tempering Each Blade

Straightening The Blade
Grinding The Blades

Polishing
Finishing
How Antique Shears Were Made |
| The
images presented here are from a 1907 Wiss catalogue and compared with
a middle 1930s catalogue. The techniques mentioned are very similar to
how most early 20th
century American shears were made. Note that this technology does not
apply to makers from other countries who used different methods and
technology, many of which were either not documented or were trade
secrets. |
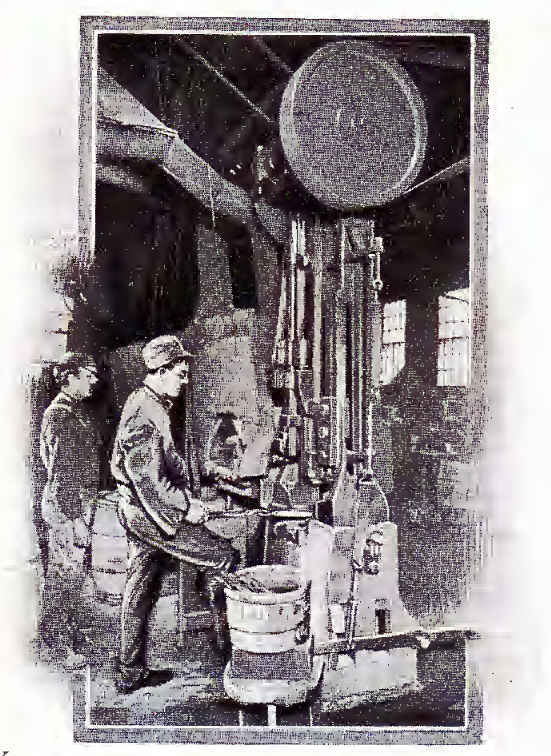
The large drop forge |
| These large drop forges were
used to forge the blank steel / iron into the basic frames for the upper
and lower blades of shears and scissors. The technique is for the
operator of the forge to grab a white hot bar of steel / iron, place it
in the dies in the forge and repeatedly hammer the billet until it has
the correct shape. A drop forge of this size operated at many tons
impact. |
Forge welding the steel inlay onto the forged iron frame |
| Using
this technique of high temperature and high tonnage in a drop forge
effectively welds the inlay onto the steel / iron frame.
The inlay is located by a pin on the frame then while white hot, is
forged until the inlay is permanantly fused to the frame. |
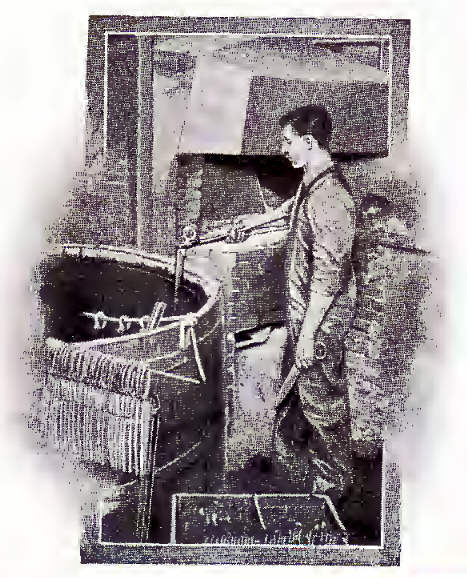
Hardening And Tempering Each Blade |
| This
process is done by re-heating the blade until it is white hot and
quenching it in running water which hardens the inlay
then it is very carefully re-heated until it reaches a certain
temperature to partially soften the inlay so it is slightly ductile yet
has a hard enough and tough edge. This is called "tempering" and it is
a critical process for shears and scissors as it dictates how well the
cutting edges wear into each other under use. |
Straightening The Blade |
| This is a process where a highly
skilled operator straightens the blades after the normal distortion
that occurs in the previous heat treatment operation. The important
thing to note here is that this operation is done BEFORE the blades are
machined to a high precision shape. A common mistake made long ago was
taking shears that had become blunt with use to a blacksmith who
instead of sharpening the blades, bashed them along the inside face
with a hammer to change the curvature of the blades. Many good pairs of
shears have been detroyed by this technique which sometimes causes
fractures in the inlay and even if they are not cracked the precision
curvature set in the factory is destroyed and the shears may cut but
not in the smooth and precise manner the original shears had. |
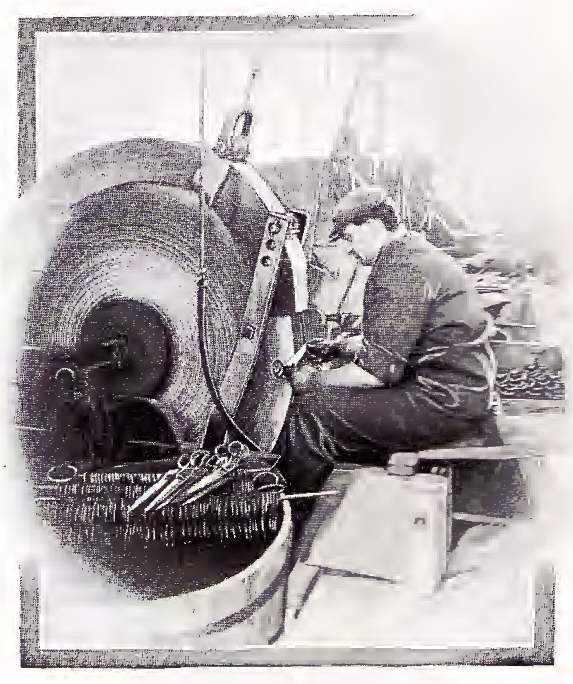
Grinding The Blades |
| This is the start of many precision processes
that shape and match the two blades. The two blades must be drilled and
machined to accept the hinge (normally referred to as the shear bolt),
hollow ground by hand as the image shows. The outside of the blades and
the handles have to be finished before they are assembled and tested. |
Polishing |
| Although these are now archaic
techniques to finish metalwork, for the available technology they
produced very good quality work. Instead of modern industrial supplies,
many of these abrasives had to be made manually by the company but the
result was a bright smooth finish that gave the items a professional
appearance and did not leave sharp edges that would snag on the fabrics
being cut. |
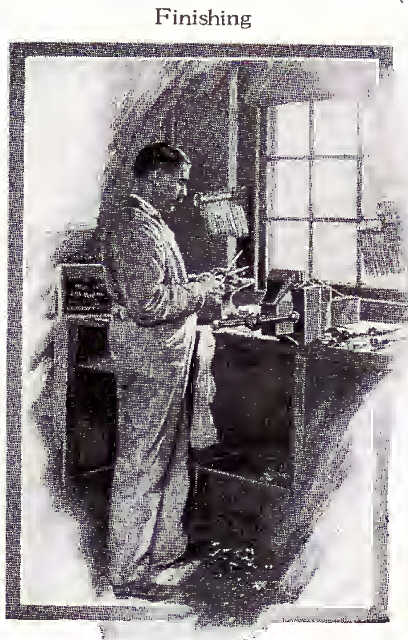
Finishing |
| This
is the last operation which
acts like final quality control. The assembled pair are checked for
defects, if any are found they are discarded. Final minor adjustments
are made and the shears are tested to make sure they perform correctly.
Then they are packaged and sent off to the distribution network. |